lundi 26 août 2024

It's my birthday! Let's celebrate :D

Buongiorno creative!

Spero di trovarvi bene!  

Oggi in occasione del mio compleanno voglio brindare con voi con questa card!:D ormai l'anno scorso ho compiuto 40 anni e da quest'anno non ho voglia di fare grandi celebrazioni...


Good morning crafters!

I hope to find you well!  

Today on the occasion of my birthday I want to toast with you with this card!:D now last year I turned 40 and since this year I don't feel like making big celebrations...


Per questa card ho usato 3 nuovi prodotti di Spellbinders: Olive Martinis etched dies, Christmas cocktail etched dies and Betterpress cheer sentiments.

Per questa card ho usato 3 nuovi prodotti di Spellbinders: Olive Martinis, Christmas cocktail e Betterpress cheer sentiments.

Le fustellate che trovate in rosa le ho ricavate da un foglio del pad di Studio light Shades of pink dove ho spruzzato il Distress Spritz Worn Lipstick per ottenere un effetto cangiante. Bello l'effetto, non trovate anche voi?

The die cuts you find in pink I made from a sheet of the Studio light Shades of pink pad where I sprayed Distress Spritz Worn Lipstick for an iridescent effect. Nice effect, don't you think so too?


Invece per lo sfondo ho usato la mia Glimmer machine, con la hot foil plate Monoline stars con il foil satinato rosa dal hot foil Roll satin pastel pack.


Vi piace il risultato? Trovo che questo set di fustelle di spellbinders sia molto versatile... ci sono tantissime occasioni per brindare e celebrare, quindi la si può usare per tutte le festività! cosa ne pensate?

Grazie di cuore per esser passate qui a leggere il blog,

vi auguro una giornata radiosa!

un abbraccio


Instead for the background I used my Glimmer machine, with the hot foil plate Monoline stars with the pink satin foil from the hot foil Roll satin pastel pack.

Do you like the result? I find this spellbinders die set very versatile...there are so many occasions to toast and celebrate, so you can use it for all holidays! what do you think?

Thank you so much for stopping by and reading the blog,

wishing you a radiant day!

a hug

Quyen


jeudi 22 août 2024

Poppy`s for Christmas

Hello

So here is my fist Christmas card for this season. I had this gorgeous Glitter Paper from Studio Light which is fantastic! I love the different shades and the best part, the glitter doesn’t rub off. I want it to combine with the Yana’s Poppy Dies. So, I decided to create something like an ice flowers on a snowy galaxy background. I mean, why not.😏 


I cut the outline from the poppies from silver glitter paper and the inlay from white cardstock. Then I colored the inlay with alcohol markers in blue. I also added some strokes with a blue pencil to give it more contrast.


For my background I took a dark blue cardstock and added even darker inks around the edges. In the middle I added white pigment ink with a blending tool. Then I added some silver splatters. 


Hope you like the card. Have great day.


Adriana


Hallo

hier ist also meine erste Weihnachtskarte für diese Saison. Ich hatte dieses wunderbare Glitzerpapier von Studio Light, das einfach fantastisch ist! Ich liebe die verschiedenen Schattierungen und das Beste daran ist, dass der Glitter nicht abfärbt. Ich wollte es mit den Yana's Poppy Dies kombinieren. Also beschloss ich, so etwas wie Eisblumen auf einem verschneiten Galaxienhintergrund zu gestalten. Ich meine, warum nicht. 😏


Ich habe die Umrisse der Mohnblumen aus silbernem
Glitzerpapier und die Blume aus weissem Papier geschnitten. Dann habe ich das weisse Papier mit Alkoholmarkern in Blau bemalt. Ausserdem habe ich mit einem blauen Farbstift ein paar Striche gesetzt, um den Kontrast zu verstärken.


Für den Hintergrund nahm ich einen dunkelblauen Papier und fügte an den Rändern noch dunklere Farben hinzu. In der Mitte habe ich weiße Pigmenttinte mit einem Blending Tool hinzugefügt. Dann habe ich einige silberne Spritzer hinzugefügt. 


Ich hoffe, die Karte gefällt euch. Habt einen schönen Tag.


Adriana


jeudi 15 août 2024

One design - two cards

Hello everyone!

I don’t know about you but I really love to play with colors. This just makes me happy and I like how you can create different feels. I created these two cards and started with the same base. I used the Flowers Stems press plate to create my image.


Then I colored them with my inks. I really like to watercolor with die ink. I tried to color one flower with more happy and vibrant colors. I also added a little bit of Astro Paste for that amazing glitter effect. 


For my other card I used more muted colors. But I still like to have color on sympathy cards.

I think you can really see the different feel, just by changing the colors.


I added two sentiments from the My Favourite Things Something for everyone stamp set. I really like the stile and the size of it.


Have a nice day.

Adriana


Hallo zusammen!

Ich weiß nicht, wie es euch geht, aber ich liebe es wirklich, mit Farben zu spielen. Das macht mich einfach glücklich und ich mag es, wie man verschiedene Stimmungen erzeugen kann. Ich habe diese beiden Karten gestaltet und mit der gleichen Basis begonnen. Ich habe die Pressplate Flowers Stems verwendet, um mein Bild zu erstellen. 


Dann habe ich sie mit meiner Stempelfarbe koloriert. Ich mag es sehr, mit Stempeltinte zu aquarellieren. Ich habe versucht, eine Blume mit fröhlicheren und lebhafteren Farben zu malen. Ich habe auch ein wenig

Astro Paste für den tollen Glitzereffekt hinzugefügt. 

Für meine andere Karte habe ich gedecktere Farben verwendet. Aber ich mag es trotzdem, wenn die Trauerkarten Farbe haben.


Ich finde, man kann den Unterschied sehr gut erkennen, wenn man die Farben ändert.


Ich habe zwei verschiedene Sentiments gewählt, beide von My Favourite Things Something for everyone stamp set - mit gefällt ihr Stil und sie sind einfach für alles zu gebrauchen.


Ich wünsche euch einen schönen Tag

Adriana


lundi 12 août 2024

Cloud 9 dye pigment ink

Buona sera creative! 

Come state? questi giorni di canicola mi hanno ispirato a creare questa card tropicale!

Good evening creative! 

How are you? these hot days have inspired me to create this tropical card!


Per lo sfondo ho usato i nuovissimi inchiostri Cloud 9 che hanno una resa fantastica ed adoro che siano perlati. Su una carta d'acquarello ho mischiato a caso questi 3 colori: Lemon candy, Summer Garden e Mermaid Lagoon.

For the background I used the brand new Cloud 9 inks which have fantastic rendering and I love that they are pearlescent. On a watercolor paper I randomly mixed these 3 colors: Lemon candy, Summer Garden and Mermaid Lagoon.


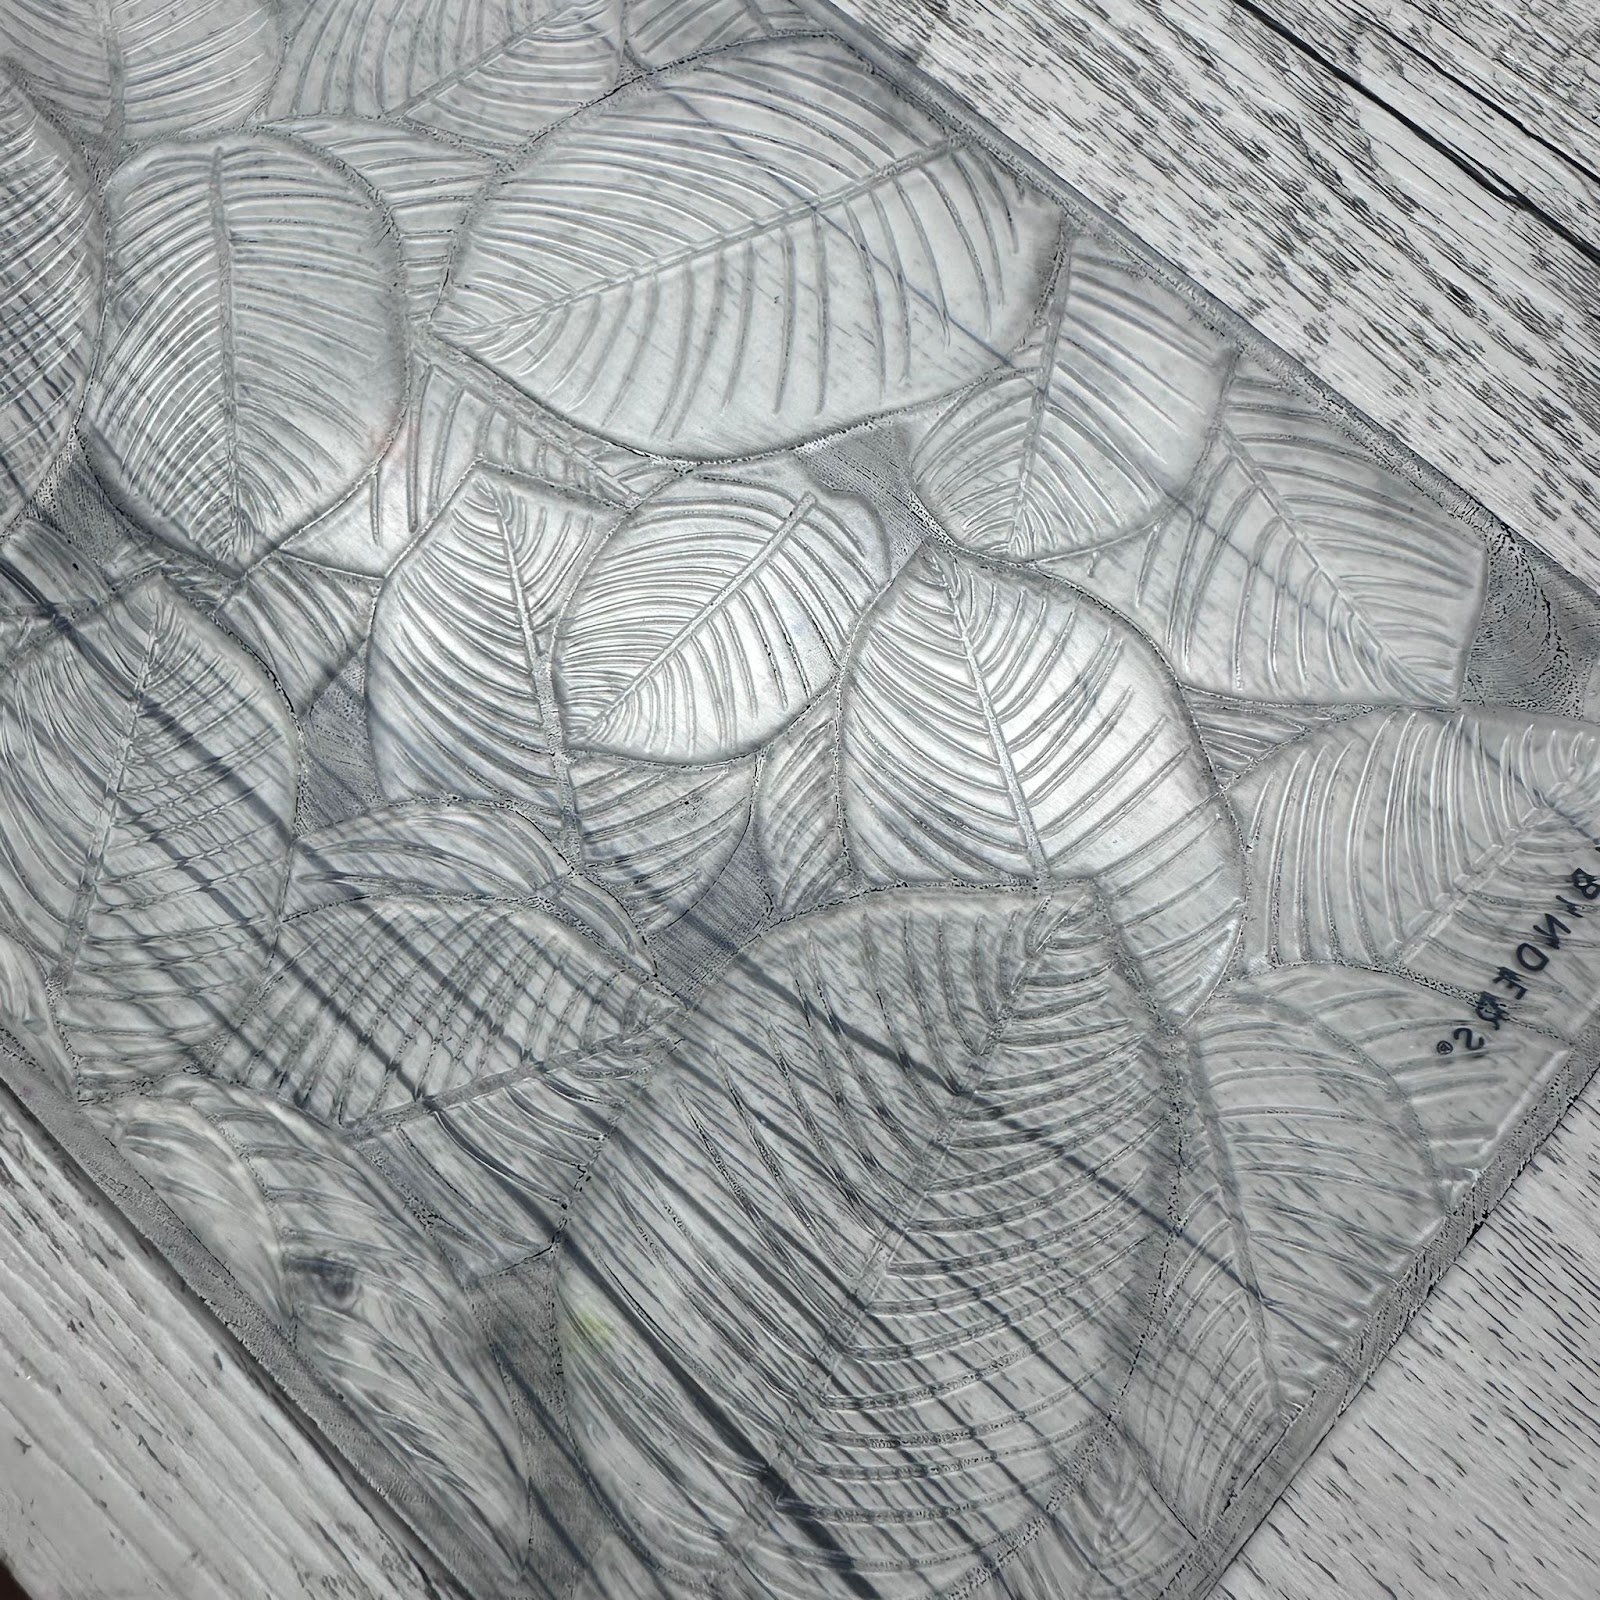
In seguito ho inchiostrato l'embossing folder Lush Leaves di Spellbinders con dell'inchiostro nero , messo il mio cartoncino colorato e passato nella Platinum 6.

Next I inked Spellbinders' Lush Leaves embossing folder with black ink , put on my colored cardstock and ran it through my Platinum 6.


Ho ritagliato una parte del cartoncino per creare un apertura dove posizionare il mio tucano ottenuto con la fustella Tropical dream di Modascrap ed i Paper pad di Studiolight: Shades of green e Shades of pink.
Ho colorato due cartoncini sempre con i tamponi Cloud 9 che ho poi fustellato sentiment Hello dal set Hello smile etched dies


I cut out part of the cardstock to create an opening where I could place my toucan obtained with Modascrap's Tropical dream die cut and Studiolight's Paper pads: Shades of green and Shades of pink.
I ink blended two small piece of watercolor paper also with Cloud 9 pads, then I die-cut the sentiment Hello from the Hello smile etched dies set. 


Spero vi sia piaciuta, 
Buona serata 

I hope you enjoyed it, 
Have a nice evening 

Quyen


vendredi 2 août 2024

Combining Products

Hi everyone

I don’t know about you, but when I get new things, I mostly use them as they are intended to be. This also helps me when I’m not feeling very creative but still wants to craft. 


But now I wanted to try how I can combine different products together, and I’m quite happy how it turned out. I used the Autumn Sprigs from Spellbinders and the Floral Whimsy Dynamic Duo from Altenew and was really surprised how good they work together. I did some red and pinks over the Stencil and then added stamping with an even darker red.

I die cut everything with the matching die.

The stems and the lavender I cut from white cardstock and colored them as well with ink and with markers.


For a sentiment I used the Lawn Fawn Giant Outlined Merci. I wanted the flowers to be behind my sentiment. So I used a little trick to get the right placement. I glued the shadow from my sentiment down first, added the flowers and finally added another shadow with the sentiment, so I could arrange them easily.


 For the background I used an embossing folder just to give a little bit more texture and interest.


So hopefully this inspires you to look different on your products, combine them creatively and get a completely different look.


Have a fabulous day

Adriana


Hallo zusammen

ich weiß nicht, wie es euch geht, aber wenn ich neue Sachen bekomme, benutze ich sie meistens so, wie sie gedacht sind. Das hilft mir auch, wenn ich mal nicht so kreativ bin, aber trotzdem basteln möchte. 


Aber jetzt wollte ich mal ausprobieren, wie ich verschiedene Produkte miteinander kombinieren kann, und ich bin ganz zufrieden damit, wie es geworden ist. Ich habe die Autumn Sprigs von Spellbinders und das Floral Whimsy Dynamic Duo von Altenew verwendet und war wirklich überrascht, wie gut sie zusammen funktionieren. Ich habe etwas Rot und Rosa über die Schablone gelegt und dann mit einem noch dunkleren Rot gestempelt.

Ich habe alles mit der passenden Stanze ausgestanzt.

Die Stängel und den Lavendel habe ich aus weissem Papier geschnitten und ebenfalls mit Tinte und Markern ausgemalt.


Für den Spruch habe ich das Lawn Fawn Giant Outlined Merci verwendet. Ich wollte, dass die Blumen hinter meinem Spruch stehen. Also habe ich einen kleinen Trick angewandt, um die richtige Platzierung zu erreichen. Ich klebte zuerst den Schatten meines Spruches auf, fügte die Blumen hinzu und fügte schließlich einen weiteren Schatten mit dem Spruch hinzu, so dass ich sie leicht anordnen konnte.


Für den Hintergrund habe ich einen Prägefolder verwendet, um etwas mehr Struktur und Interesse zu erzeugen.


Ich hoffe, das inspiriert dich dazu, deine Produkte anders zu gestalten, sie kreativ zu kombinieren und einen ganz anderen Look zu erzielen.


Habt einen fabelhaften Tag

Adriana