mardi 28 février 2023

Baby Card with Isha

 Hello everyone! Long time, sorry I had some personal things going on. Anyhoo, I made this cute baby girl card using some of the new Lawn Fawn products. Did you check them in the shop yet? There are still some in the shop so check it out :)

I love this new die "Moon and Stars Mobile" and the rainbow stencil "Corner Rainbow stencil". I also used the Stitched Rectangle die, Clouds Border die and the Quinn's ABCs dies.


I started by sponging some Ranger distress oxide inks through the stencil onto white cardstock. Die-cut using the stitched rectangle die. Die-cut the mobile using a glitter card. Die-cut the small elements from white card and color using copic markers. Add some shine using clear glitter pen.


Die-cut the cloud border, adhere to the bottom of the mat layer. Die-cut the alphabets for "baby" in white and black. Adhere the black behind the white slightly off set. Adhere everything to a pink cardbase.

If you don't have the exact products, you sure will find substitute from other companies in the shop.

Thank you for dropping by and have a nice day!

lundi 27 février 2023

Pull 'n Pop interactive dies and Elephant Parade stampsets

 New Lawn Fawn Release Spring 23

Hello Everybody

I had the pleasure to playing with the new Lawn Fawn release fresh out of the box! :)

I used the adorable elefants and the sentiment from the stampset "elephant parade" and the ballons from the "elephant parade add on" stampset. 

Also I used the interactive die cut set "Pull 'n Pop Pull Tab Dies" and the "Platform pop-up cloud inserts" in a different manner (not on a platform pop-up card ;)).

I do love some 3D elements so I added some string to the ballons which hang down when you open the card up. 

Et voilà that is my first card with those just recently unpacked Scraphouse.ch goodies!

Thank you for stepping by and I hope you are having a lovely day! 😘

Huhu Mitenand

Ich han hüt freudig chöne mit dä frisch uspackte Sache vom neue Lawn Fawn Release umespiele! :)

Ich han die zwei herzige Elefante und au dä Spruch vom Stempelset "elephant parade" gnoh und mit dä Ballöön vom "elephant parade add on" Stempelset ergänzt.

Dänn hani das interaktive Set "Pull 'n Pop Pull Tab Dies" und die "Platform pop-up cloud inserts" chlin andersch benutzt als dänkt wäred (ebe nid ufere Plattform pop-up Charte ;)).

Ich han 3D Element sehr gern und han drum no chli Fade ad Ballöön anegmacht wo dänn so abehanged wäme d Charte ufmacht.

Und scho isch diä erschti Charte mit dä tolle Sache usem Scraphouse.ch Päckli vo hüt fertig.

Merci vielmol fürs verbii luegä und ich hoff Du häsch en guetä Tag! 😘


samedi 25 février 2023

Hello Baby

 Ciao a tutti, 

spero che stiate bene! Sono felice che stasera finalmente ho trovato tempo di giocare con i nuovi prodotti della release di Lawnfawn! Questa volta mi son dovuta trattenere a non comprare tutto, ma nonostante ciò adoro tutti i prodotti!


Hi everyone, 

I hope you are all doing well! I'm glad that tonight I finally found time to play with the new products from the Lawnfawn release! This time I had to restrain myself from buying everything, but nevertheless I love all the products!


Ho usato la fustella Dotted Moon and stars backdrop , ricavando questo sfondo bellissimo con le stelline e le piccole lune. Dato che volevo ricreare il cielo, grazie alla fustella Cloud Borders ho ricavato una nuvola per ricoprire la parte in basso della mia card. Mi piaceva anche l'idea di incorniciare la scena della card e quindi ho usato la fustella della misura più grande del set Stiched rectangle frames con la carta glitter argento ed il rettangolo avanzato dal taglio, ho ricoperto il retro dello sfondo.
Ho colorato i timbri del set Fligh High, ed anche la scritta Baby con i Copic.
Ho timbrato la scritta "Hello" con la nuova plancia Henry jr.'s ABCs


I used the Dotted Moon and stars backdrop die cut , making this beautiful background with the little stars and moons. Since I wanted to recreate the sky, thanks to the Cloud Borders die cut I obtained a cloud to cover the bottom part of my card. I also liked the idea of framing the card scene, so I used the largest size die cut from the Stiched rectangle frames set with silver glitter paper and the leftover rectangle from cutting, I covered the back of my card.
I colored the stamps from the Fligh High set, and also the "Baby" lettering with Copics.
I stamped the "Hello" inscription with the new Henry Jr.'s ABCs stamp set.


Infine ho aggiunto della pailletes argento per decorare la card. Spero vi piaccia il risultato!
Vi auguro buon weekend, 
un abbraccio 

Finally, I added silver sequins to decorate the card. I hope you like the result!
Have a great weekend, 
a hug Quyen


mardi 7 février 2023

Peek-a-Boo Welcome Baby Card

 Peek-a-Boo Welcome Baby Card

Peek-a-Boo Willkommen Baby Karte


Scroll to the end of the post to see the card in action. 😊

Scrolle ans Ende des Posts um die Karte in Bewegung zu sehen. 😊

You need 3 Panels
You can make them with different measurements, place the window somewhere else and make it open sideways. Just try out where the window can be placed once you understand the mechanism of the card. (It is easier to show in a video than describe it 😉)

Du brauchst 3 Lagen (ich weiss das deutsche Wort nicht für Panel.🤓)
Du kannst unterschiedliche Masse benutzen, das Fenster irgendwo anders platzieren oder die Karte seitwärts drehen. Experimentiere mit dieser Kartenform sobald Du die Mechanik davon verstanden hast. (Es wäre einfacher die Kniffe in einem Video zu zeigen als hier zu beschreiben 😉)

        Front View:                                                            Backview:
        Von Vorne:                                                             Von Hinten:
When you place the bottom lines of the front and the middle panel flush the windows should be identical. Also when you fold the middle part the windows need to be at the same spot. So when you put them all together you would have a neat Peek-a-Boo window.

Wenn Du die Titelseite und den Mittelteil unten bündig hinlegst müssen die Fenster auf derselben Höhe sein. Die mittlere Lage gefaltet hat die Fenster auch auf derselben Höhe somit entsteht ein sauberes Peek-a-Boo Fenster wenn alle Lagen übereinander gefaltet werden. 

From left to right:
Front Panel: 10.5cm x 20cm score at 5.5 cm
On the back of the flap add the sentiment or image you want to appear when you open the card. Make sure to face it in the right direction. Use the other panel to line it up as shown further down.

Von Links nach Rechts:
Titelseite: 10.5cm x 20cm falzen bei 5.5cm
Der Spruch oder das Bildchen auf der Rückseite der Klappe erscheint wenn man die Karte öffnet. Pass auf, dass sie in die richtige Richtung zeigen. Benutze die mittlere Lage um den Stempel oder das Bildchen zu platzieren, ich zeige dies ein bisschen weiter unten.


Middle Panel: 10.5cm x 21cm score at 10.5
I added some nice frames on this panel, it is the same one I adhered on the front of the frontpanel. In order to still see them once it is all adhered you need to fold those frames to the inside.

Mittlere Lage: 10.5cm x 21cm score at 10.5
Ich habe ein paar hübsche Rahmen auf der mittleren Lage sowie auf der Titelseite befestigt. Diese Rahmen sollten am Schluss noch zu sehen sein. Das heisst diese Lage wird mit den Rahmen nach innen gefaltet.


Backpanel: 10.5cm x 14.5cm
This contains the sentiment or image you see when the card is closed.
Add some score tape at the bottom edge.

Rückseite: 10.5cm x 14.5cm
Dies beinhaltet Bild oder er Spruch, den Du siehst, wenn die Karte noch verschlossen ist.
Füge etwas Score Tape an die untere Kante.


I did all the stamping and adhering of patterned paper before the assembling. Just pay attention when you stamp on the backside of the frontpanel to line them up correctly:
As we are holding the panels upside down, you need to line them up on top. Take the middle panel and put it over the top panel, line up one of the windows and use the other window as a guide for the stamp alignment.

Ich habe alles stempeln und verzieren vor dem Zusammenbau der Karte erledigt. Aufpassen muss man nur, dass man an die richtige Stelle stempelt. Dazu musst Du die Titelseite und die mittlere Lage korrekt ausrichten. Wir halten die Kartenteile hier auf dem Kopf also müssen die oberen Kanten hier bündig sein. Oder Du bündelst die Öffnungen und kannst dann das untere Fenster als Stempelhilfe benutzen. 


Then glue on the middle panel to the front panel so that the openings are overlaping and the frames are still visible.

Danach leimt man das mittlere Teil mit der Titelseite zusammen. Rahmen nach innen geklappt und die Unterseiten bündig.


Take the lining of the score tape and adhere the backpanel flush to the middle panel.

Klebe nun noch die Rückseite bündig mit der mittleren Lage zusammen.


Fold the card correctly and you are done! 😃

Falte die Karte korrekt und schon bist Du fertig! 😃


I hope you can follow my explanations!
Thank you so much for stepping by.
Have a lovely Day!
Andrea

Ich hoffe Du kannst meinen Ausführungen folgen!
Herzlichen Dank fürs Vorbeischauen.
Ich wünsche Dir einen gemütlichen Tag!
Andrea


And here it is in motion:
Und hier die Karte in Bewegung:

samedi 28 janvier 2023

Yana's Bloom


 Buongiorno carissime,
come state? son felicissima di mostrarvi queste due card che ho fatto con i prodotti di Spellbinders!


 Good morning dears,
how are you? i am so happy to show you these two cards i made with Spellbinders products!


Di questa collezione Yana's Bloom il fiore della magnolia esiste sia nella versione foil sia fustella classica. Ero indecisa su che tipologia di card fare e alla fine ho deciso di usare entrambi i prodotti!
Ho cominciato con Magnolia Glimmer Hot Foil Plate & die set abbinando un foil oro dal Glimmer hor foil roll Metallics variety pack. Ho foilizzato due volte il fiore su un cartoncino rosa chiaro dal pad Pastels di StudioLight, ritagliato e poi colorato con il Distress ink Victorian Velvet. In seguito ho foilizzato più volto la Magnolia sul cartoncino che ho ritagliato come base per la mia cars. Ho aggiunto le magnolie colorate con del biadesivo spessorato per dare un po' di dimensione alla card. Infine ho aggiunto il sentiment Thanks dal set Yana's Layered script sentimen etched dies e delle mezze perle dorate di Pinkfresh studio.


From this Yana's Bloom collection, the magnolia flower exists in both foil and classic die cut versions. I was undecided on what type of card to make and finally decided to use both products!
I started with Magnolia Glimmer Hot Foil Plate & die set by matching a gold foil from the Glimmer hor foil roll Metallics variety pack. I foiled the flower twice on a light pink cardstock from StudioLight's Pastels pad, cut out and then colored with Distress ink Victorian Velvet. Next, I foil stamped more face Magnolia onto the cardstock that I cut out as a base for my cars. I added the colored magnolias with thick double-sided tape to give the card some dimension. Finally I added the sentiment Thanks from Yana's Layered script sentimen etched dies set and some gold half pearls from Pinkfresh studio.


Per questa seconda card ho usato la fustella Magnolia Blooms Etched Dies, ho fustellato il fiore con un cartoncino lilla  , colorato il centro con il Distress ink Seedless preserves, rifustellato il fiore per ottenere il bordo dorato e la base in vellum. Per la base della mia card ho usato la Spellbinders Hot Foil Plate Diagonal Stripes Background ed ho aggiunto il sentiment da Hello, Friend SentimentsGlimmer Hot Foil Plate. 

Spero vi piacciano e che vi invogliano a provare la Hot foil Glimmer Machine!
Buon weekend!

For this second card I used Magnolia Blooms Etched Dies, die-cut the flower with a lilac cardstock , colored the center with Distress ink Seedless preserves, re-cut the flower to get the gold border and the vellum base. For the base of my card I used Spellbinders Hot Foil Plate Diagonal Stripes Background and added the sentiment from Hello, Friend SentimentsGlimmer Hot Foil Plate. 
I hope you enjoy them and that they will entice you to try the Hot foil Glimmer Machine!
Have a great weekend!
Quyen


samedi 21 janvier 2023

Crazy about Hot foil system

Buongiorno care creative,
sono cosi felice oggi di mostrarvi questa card! Recentemente ho iniziato ad appassionarmi alla Hot Foil Glimmer machine della Spellbinders! Per una creativa che adora i glitter e le cose luccicose, questa macchina é il top! Mi piace davvero tanto aggiungere questi dettagli brillanti con il foil e che con la polvere da embossing non si riesce ad ottenere un simile risultato.
Good morning dear crafty friends,
I am so happy today to show you this card! I recently started to be passionated about the Hot Foil Glimmer machine from Spellbinders! For a creative who loves glitter and shiny things, this machine is a must! I really love adding these shiny details with foil and that with embossing powder you can't get that kind of result.


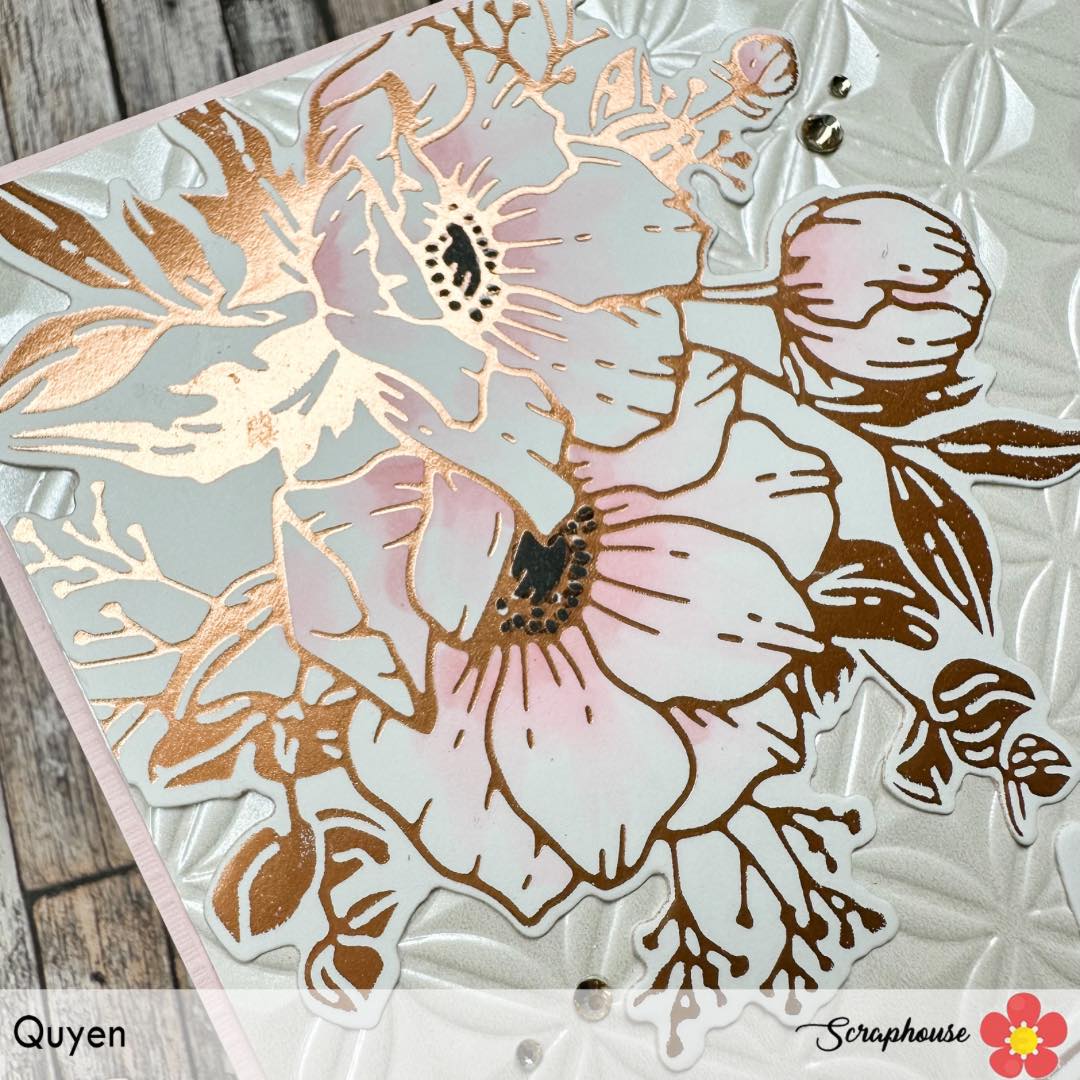
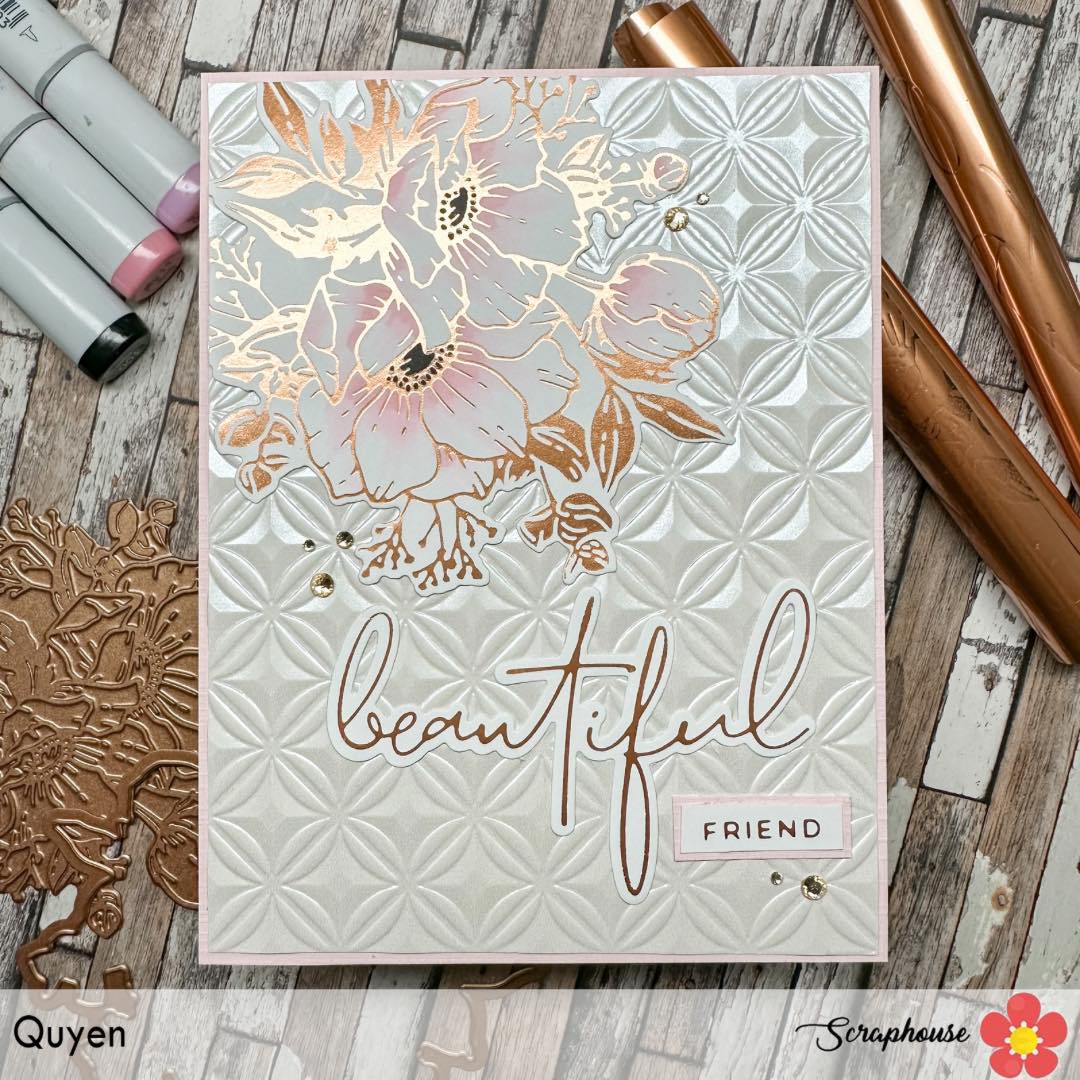
Ho usato la nuovissima collezione di Yana Smakula per SpellbindersAnemones Glimmer Blooms Glitter Hot Plates and die set con il glimmer foil Satin rose gold, ed ho colorato l'interno dei fiori con i copic RV11, RV 00 e 100.

I used Yana Smakula's newest collection for Spellbinders, Anemones Glimmer Blooms Glitter Hot Plates and die set with Satin rose gold glimmer foil, and colored the inside of the flowers with Copic RV11, RV 00 and 100.


In seguito ho embossato un pezzo di cartoncino bianco perlato con l'embossing folder Orange peel quilt 3D, che vi confesso desideravo da tanto ed ero felicissima di aver trovato tutti queste novità nello shop.

Next I have embossed a piece of white pearl cardstock with the embossing folder Orange peel quilt 3D, which I confess I had been wanting for a long time and was overjoyed to have found all these new things in the shop.

Infine alla card ho aggiunto il sentiment dal set Hello, Friend Sentiments Glimmer Hot Foil Plate e ritagliato la scritta "beautiful" con la fustella coordinata Wonderful script sentiments etched dies e degli abbellimenti Color essentials gems Crystal mix.

Spero che con questo post sia riuscita a risvegliare un po' di curiosità su questi nuovi prodotti e che vi faccia appassionare alla glimmer! 
Buon weekend!
Un abbraccio

 
Finally I added to the card a sentiment from the set Hello, Friend Sentiments Glimmer Hot Foil Plate  and cut out the word "beautiful" with the coordinating Wonderful script sentiments etched dies and some Color essentials gems Crystal mix embellishments.

I hope that with this post I managed to arouse some curiosity about these new products and get you hooked on glimmer! 
Have a great weekend!
Crafty hug

Quyen


vendredi 13 janvier 2023

Long Time no Tea (Card with Lawn Fawn Cutting Dies)


Hello Everybody and Happy New Year!

I hope you arrived well in the New Year and am wishing you all the best.

Scraphouse is having a huge sale and the die cuts I am using for this card are also 25% reduced at the moment!! If I were you, I would check it out.

Today I am going to show you a rather simple card with a little fancy touch on the frame. I used the Teacup Diecuts as well as a sentiment from the stampset Tea-rrific and the "Woodgrain" Hotfoil stamp from Lawn Fawn.


Hallo zusammen und Frohes Neues Jahr!

Ich hoffe ihr seid gut im neuen Jahr angekommen und wünsche euch nur das Beste.

Im Moment ist bei Scraphouse eine grosse Aktion im Gange und die Stanzen, die ich für diese Karte benutzt habe, sind momentan auch um 25% reduziert!! Es lohnt sich vorbei zu schauen!

Heute zeige ich euch eine ziemlich einfache Karte mit einem Hauch mehr Extravaganz auf dem Rahmen. Dafür habe ich die Teetassen Stanze, einen Spruch vom Stempelset Tea-rrific, sowie den "Holzmaserung" Hotfoil Stempel von Lawn Fawn benutzt.


I started with cutting out the teacups with a thick paper and also a patterned paper to glue on top. The patterned paper I turned for one diecut so I could have the cups face eacht other. After adhering the two cup layers I die cut the cute little face and added some black paper behind the eyes and mouth as well as colored paper for "black tea with milk" and "greentea".
Then I put those aside and started with ink oxide blending my background with "Squeezed Lemonade", "Mustard Seed" and "Carved Pumpkin".


Zuerst habe ich die Teetassen aus dickem und aus dünnerem Design Papier ausgestanzt. Das Designpapier habe ich einmal von der Rückseite her gestanzt, damit die Teetassen einander anschauen können. Nach dem Zusammenkleben der Papierschichten habe ich das kleine, süsse Gesicht noch ausgestanzt. Danach habe ich schwarzes Papier hinter den Mund und die Augen geklebt sowie ein farbiges Papier für "schwarzen Tee mit Milch" und "Grüntee".
Dann habe ich die Tassen zur Seite gelegt und mit dem Inkblenden des Hintergrunds begonnen. Dazu habe ich Distress Oxide in den Farben "Squeezed Lemonade", "Mustard Seed" und "Carved Pumpkin" benutzt.


After the Inkblending I took out my Watercolors and some Sparkly color to speckle the background. Then I embossed the sentiment with Versamark Ink and black embossing powder.


Nach dem Inkblending habe ich meine Wasserfarben sowie eine glitzrige Farbe hervorgeholt um den Hintergrund zu besprenkeln. Danach habe ich den Spruch mit Versamark Tinte und schwarzem Embossing Puder embossed.


Then I got out my Spellbinder Hotfoil System and heated up the Woodgrain Stamp from Lawn Fawn,
attached it with washi tape over some yellow hotfoil to a brown paper and ran it through the die cut machine. After that I cut out the frame I wanted around my little scene.


Danach habe ich mein Spellbinder Hotfoil System hervorgeholt und den Holzmasserungs Stempel von Lawn Fawn aufgeheizt. mit Washi Tape über die gelbe Folie auf einem braunen Papier befestigt. Nachdem ich dies durch die Stanzmaschine gekurbelt hatte habe ich den Rahmen, den ich um meine kleine Szene möchte, aus dem Papier gestanzt.


Then I adhered everything on my Background. the cups with some smalle foamdots behind and the frame with a white shadow layer (which was not on purpose). 
And just like that the card is finished! It is quite simple except for the Hotfoiling on the frame.

Thank you so much for stepping by and I am wishing you a lovely Day!
Andrea


Danach habe ich alles auf dem Hintergrund befestigt, die Teetassen mit kleinen Abstandshaltern und den Rahmen mit einem weissen Schatten dahinter (war keine Absicht).
Et voilà schon ist die Karte fertig! Sie ist ziemlich einfach ausser das Hotfoilen auf dem Rahmen.

Vielen Dank fürs Vorbeischauen und ich wünsche Dir einen schönen Tag!
Liebi Grüessli
Andrea

vendredi 16 décembre 2022

New Lawn Fawn Valentine's Release Shaker Card with Beaver :)

 New Lawn Fawn Valentine's Release :)


Hello Everybody 

I hope you are doing well!

Here is a Shaker Card with the Beaver and Woodgrain Hot Foil Stamp from Lawn Fawn, The sentiment works for many occasions not just for Valentine. :)

I am wishing you a lovely christmas with friends and family and a Happy New Year! :)

Thank you for stepping by and see you in the next one.

Andrea


Hoi Zämä

Ich hoff eu gohts guet!

Do zeigi eu e Shaker Charte mitem Biber und em Holzmasserig Hot Foil Stempel vo Lawn Fawn. Dä Schriftzug isch au zu anderne Aläss bruuchbar und nid nur für dä Valentins Tag. :)

Ich wünsche eu ganz gmüetlichi Wiehnachte mit Fründe und Familie und en guetä Rutsch is neue Johr! :)

Dankä fürs verbii luegä und bis zum nöchschte Mol!

Andrea


Distress Oxide: Walnut Stain, Vintage Photo, Tea Dye


Front: Hotfoil Stamp Woodgrain
Inner Part: Leftover Foil through Minc or Laminiergerät


Using Hellraumprojektor Folie / Overhead Projector Acetate


Perfect Pearls for Speckles / Sprenkel
3 Layer Schriftzug: special gelb, weiss für Stabilisation und schwarz für Wurfschatten


Copic Colors: E42 / E43 / E44 / E47 and E49


Shaker Card is finished! :)
Et voilà! :)

FLORILEGES Design

Bonjour à tous, 

Je reviens vers vous avec la suite des cartes réalisées avec la collection de Noël "Echantement".

Belle fin de semaine enneigée 

Manu


samedi 10 décembre 2022

Best Wishes


Buongiorno creative, 

non vado matta per le fustelle perché non mi piace incollare i piccoli ritagli, ma oggi ho voluto sperimentare qualcosa di nuovo. Ho usato la fustella di Les ateliers de Karine Enveloppe Fleurie, per creare la busta e i rametti che escono da essa, insieme alla bimba di All And Create Happy mail 819 sfondo di questa card l'ho realizzata usando lo stencil Les Flocons della SOKAI su carta kraft con il distress oxide vintage photo. Il sentiment Best Wishes invece di Pinkfresh Classic words die set.


Good morning creative, 

I'm not crazy about die-cuts because I don't like to glue little cutouts, but today I wanted to experiment with something new. I used the die cut from Les ateliers de Karine Enveloppe Fleurie, to create the envelope and the sprigs coming out of it, along with the little girl from All And Create Happy mail 819 background of this card I made it using the Les Flocons stencil from SOKAI on kraft paper with the distress oxide vintage photo. The Best Wishes sentiment is from Pinkfresh Classic words die set.


have a nice day

Quyen